Why Olightek Chromebit is the right fit for Digital Signage?
Whether you have a Olightek television integrated with a Chromebit or a separate HDMI Chromebit Stick or Box, you have made the right move to have your digital signage up and running quickly by avoiding the overhead and instability off a complicated setup. In this guide, we will show you how easy it is to transform your Olightek Chromebit into Digital Signage for free in less than 5 minutes.
Install Display.Stream Digital Signage Player in your Olightek Chromebit
Go to your Olightek Chromebit Apps and install the Display.Stream Player. This application is all what you need to be installed in order to have a working digital signage.
To do so, Type in displaystream in the search box then select the Display.Stream Player application and install it.
Now that we have a screen ready with the right digitl signage player installed, we just need to connect it to the display.stream cloud to be able to activate it, manage it and play content on it.
Open the DisplayStream Player application, the welcome screen will show up inviting you to choose one of the two options.
- Get a code
- Have a code
In this guide we will not be covering the Have a code option.
Using your remote control, press the Get a code option.

A 6-alphanumerical short activation code and an URL will appear on the screen. We will be using this code to pair this screen with your display.stream free account.

Now, head over to your laptop or smartphone and type in the Activation URL showing on the screen to create your Display.Stream Account and activate your Screen.
Create an account
Signup using your Google account or using an email and password. If you already have a Display.Stream account, log in into your account.

Activate your Screen
Type in the activation code, fill in the address and give your Display (screen) a name and hit Next. This information will help you organize your digital signage screens inventory. It’s only important when you have more than one screen.
You can always edit your display (screen) and change the name and address among many other properties.

Your screen should show a radar animation waiting for a broadcast to play.
This means that your display is ready to play content. Congratulations!

Upload and play content
In this step, you will be uploading your content to play in your screen. To do so, from your computer, follow the wizard to select your images and videos. You can also pick a design template or existing library assets.
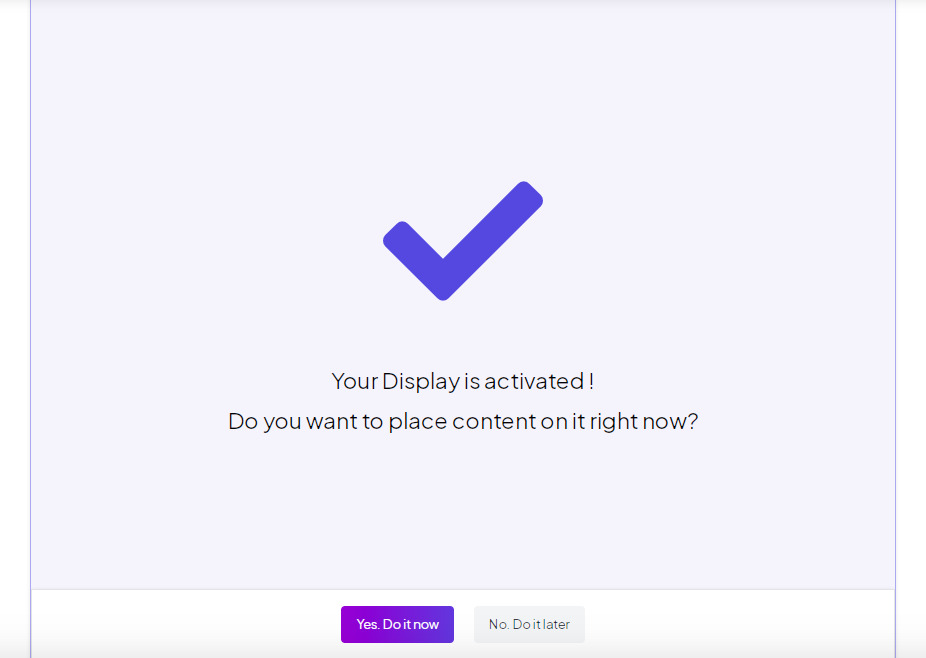
In this step, display.stream is asking you if you want to play content now or you may do it later. Click on the Yes Do it now button. Three options will be presented to you:
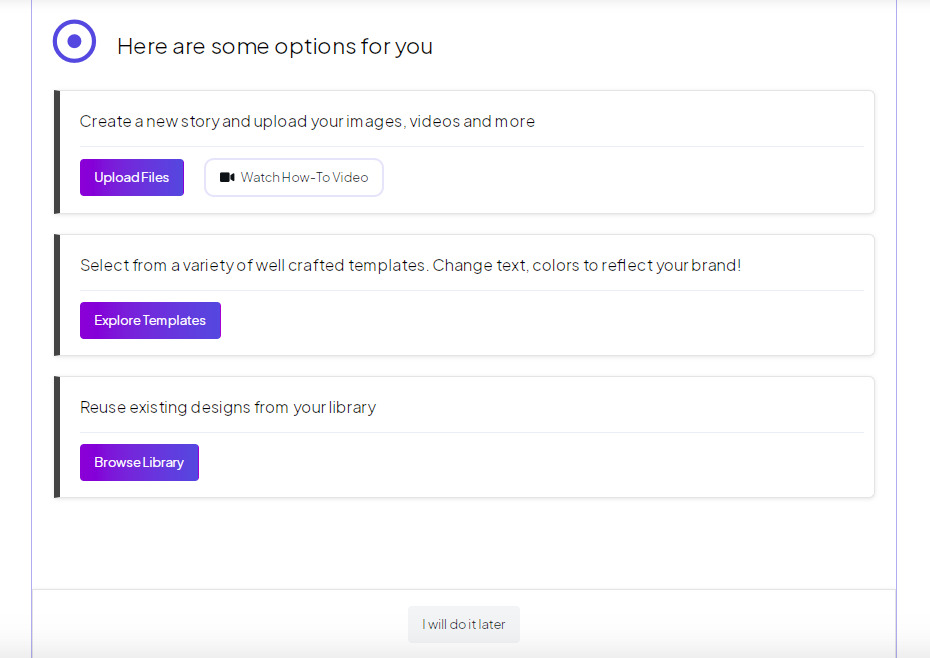
In this guide, We will be covering only the Upload Files option.
Click Upload Files and select the files you want to be part of your story to play on your screen.
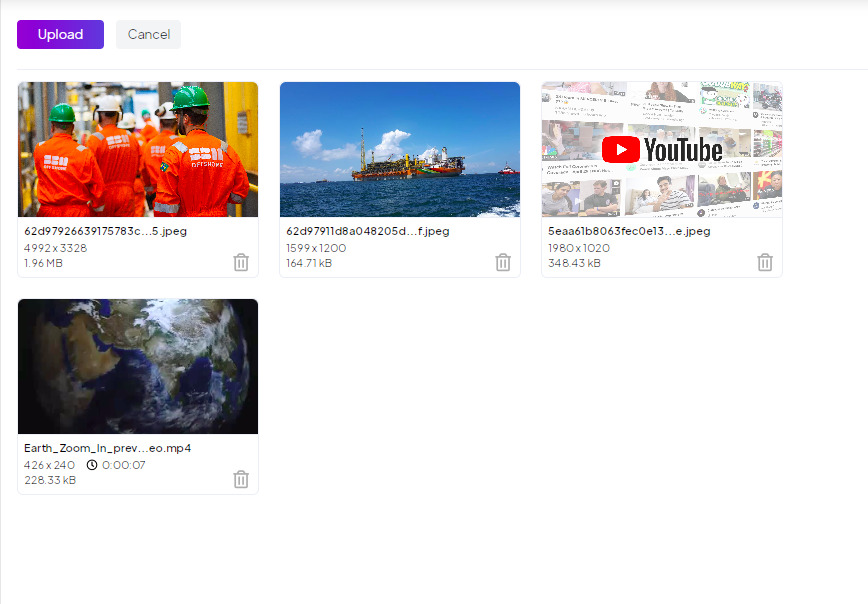
Click the Upload button to load your files into your display.stream account. Once the upload is over, your story will have all the files you’ve uploaded. You can re-order their position by dragging and dropping their corresponding thumbnails.
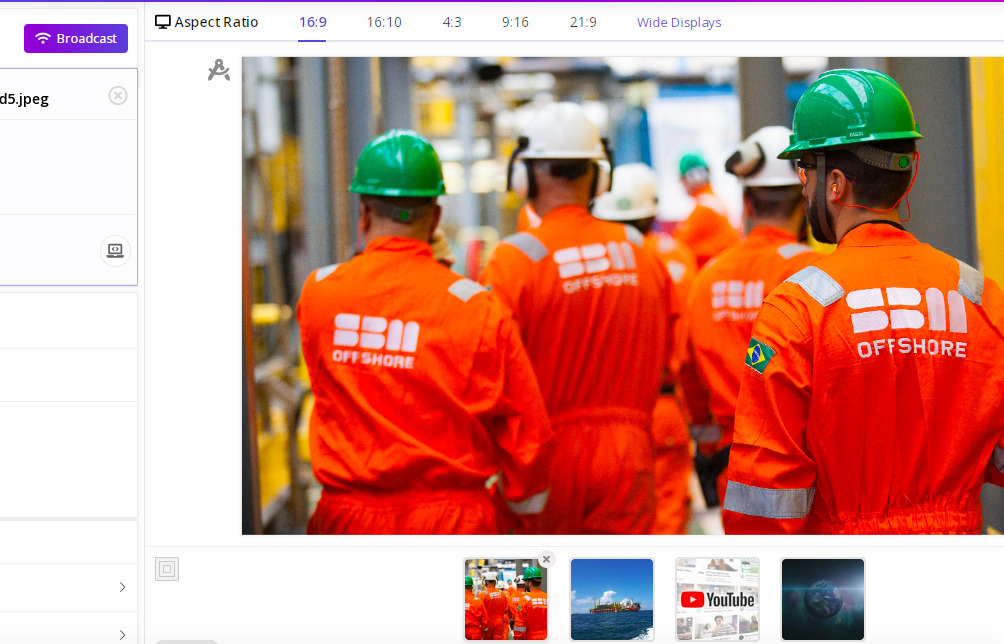
Broadcast to your Screen
To play the content on your Olightek Chromebit screen, hit the Broadcast button. A page similar to this one below will show up.
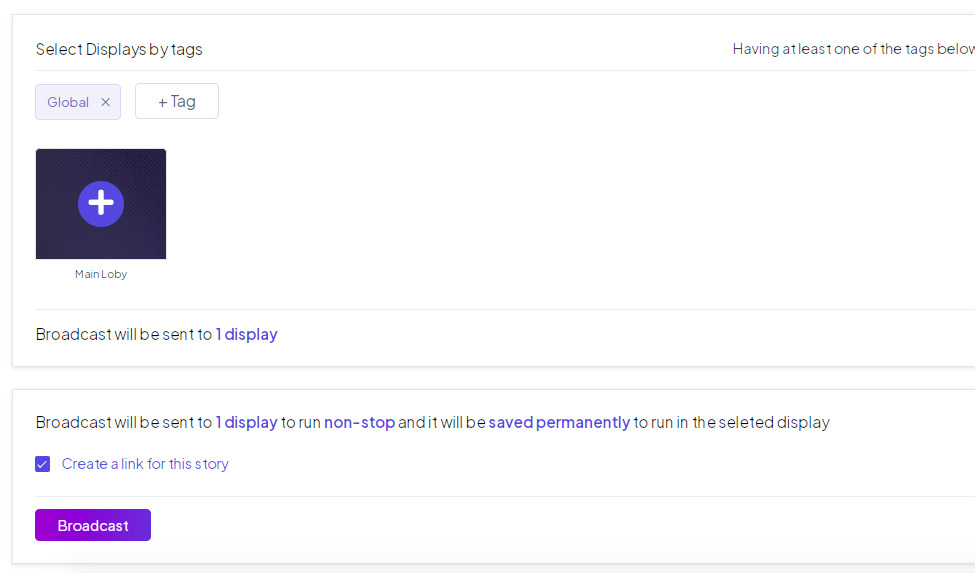
Select which displays (screens) to receive the broadcast by clicking the plus + sign then click the Broadcast button to start playing into your screen.
You should see your valuable content playing in your screen immediately.
If you need to add a new picture, remove one or do any change, Go to your display.stream account, click on the Stories menu then select your story, make the changes you want, then hit Re-Broadcast to see the content changing instantly in your screens.
Stick around, you can do much more than that
That was all you needed to Transform your Olightek Chromebit into Digital Signage? Please leave your comment in the section below. Well, there are many other cool functionalities that we didn’t cover in this guide such as setting your scenes duration, scheduling, using design templates, broadcasting to multiple displays, and many other awesome features. Please visit our Documentation section to learn about available features.
Transform your Olightek Chromebit into a Digital Signage
Get your screen up and running in less than 5 minutes for free.
